Running MosaicML's MPT-7B, a ChatGPT Competitor, on AWS SageMaker
In this blog post, I’m going to take you step-by-step through the process of running MosaicML’s ChatGPT competitor, MPT-7B, on your own AWS SageMaker instance.
MPT-7B and AWS SageMaker. Image credit: MosaicML and Author
Are you excited about the capabilities of ChatGPT, but have concerns about exposing your sensitive data to OpenAI? Luckily, there are alternatives that you can run on your own infrastructure. One such alternative is MosaicML’s MPT-7b, a competitor to ChatGPT, which we’ll explore in this blog post.
Introduction to MosaicML and MPT-7B
MosaicML, recently acquired by Databricks for $1.3 billion, has been making waves in the ML community with their MPT-7B model, a supposed competitor to ChatGPT. Despite its promise, running this model can be daunting due to sparse documentation and its heavy resource requirements. However, one can run MPT-7B on AWS SageMaker in a Jupyter notebook, an environment that is beginner-friendly and highly flexible for rapid iteration. This setup allows you to test the model’s feasibility and hardware requirements before deciding to move into production.
Running MPT-7B on AWS SageMaker
Running MPT-7B in a Jupyter notebook on AWS SageMaker provides several benefits. Not only can you pay just for what you use and turn it off when you’re done, but the ability to easily rerun portions of your code without having to reload the model saves time during iterative development. But do beware! If you forget to stop your notebook instances, the charges can quickly add up.
While this method is relatively convenient, there are some considerations you must take into account. Firstly, loading the model can take up to 20 minutes even on a high-performance GPU, making this process somewhat time-consuming. Also, the cost is a factor to consider, as the running cost is at least $4 per hour. You’ll need to run MPT-7B on at least a p3.2xlarge instance; anything smaller does not seem feasible. If you opt for EC2 instead of SageMaker, you’ll have to ask AWS for permission to use a p3.2xlarge instance.
In the next sections I’ll take you step-by-step through how to run the MPT-7B model in your very own SageMaker jupyter notebook:
Step 1 - Open the SageMaker Console
Fire up the AWS Console and search for SageMaker:
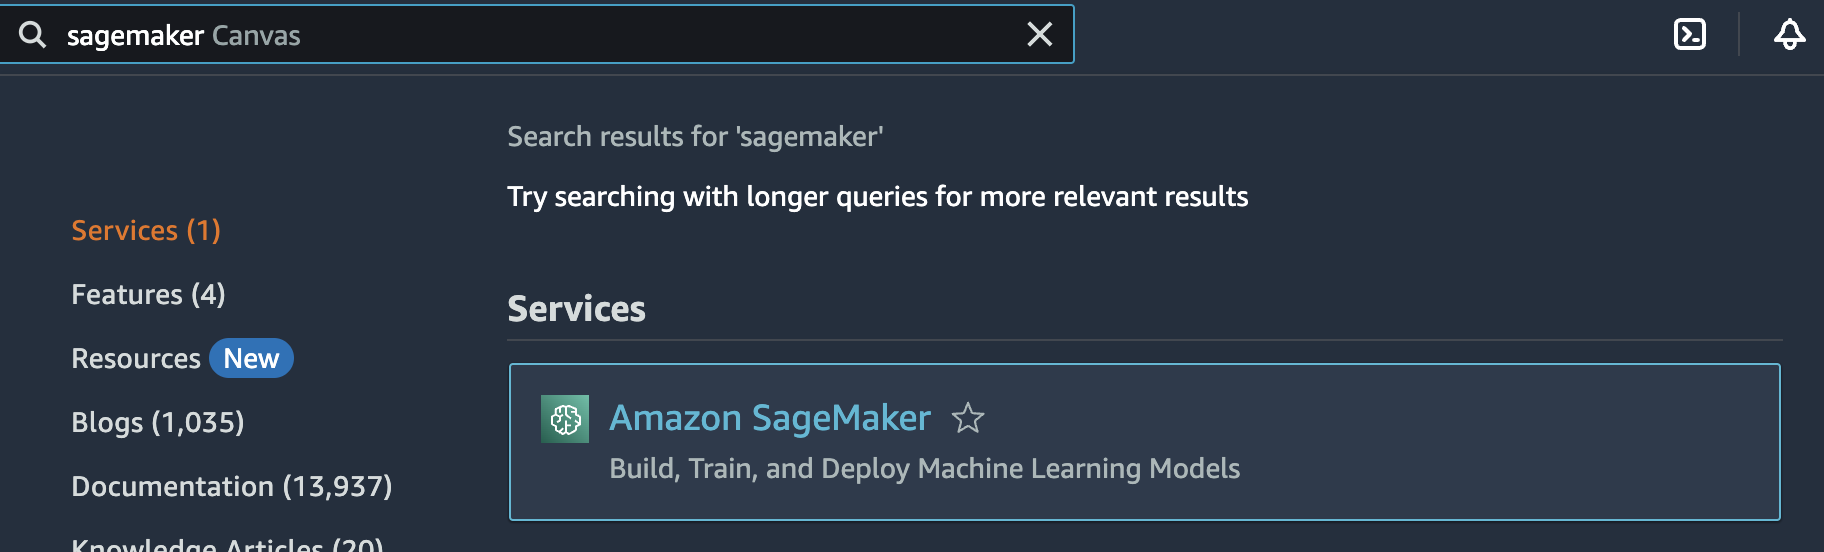
Search for SageMaker. Image credit: Author
Step 2 - Create a notebook instance
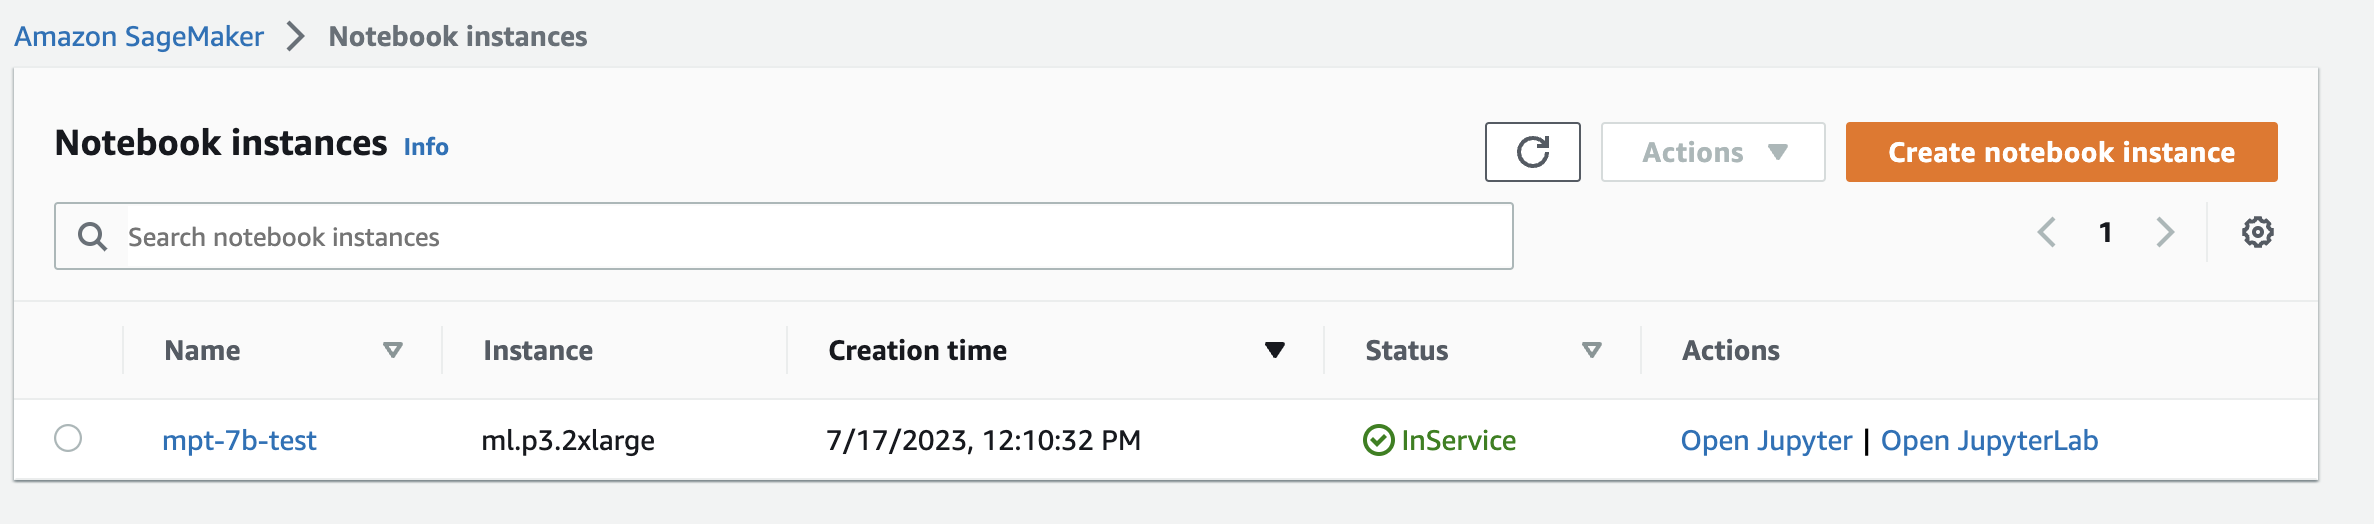
From the left-side menu, select Notebook->Notebook instances:

Notebook instances. Image credit: Author
Click the Create notebook instance button:

Create notebook instance. Image credit: Author
Specify an instance name. Choose the instance type m1.p3.2xlarge. Unfortunately, it seems that an instance as powerful as m1.p3.2xlarge is required, or else your instance may run out of memory or take an excessive amount of time to respond to even the simplest questions. However, please note that this instance will cost approximately $4/hr, so it’s important to monitor your usage carefully.
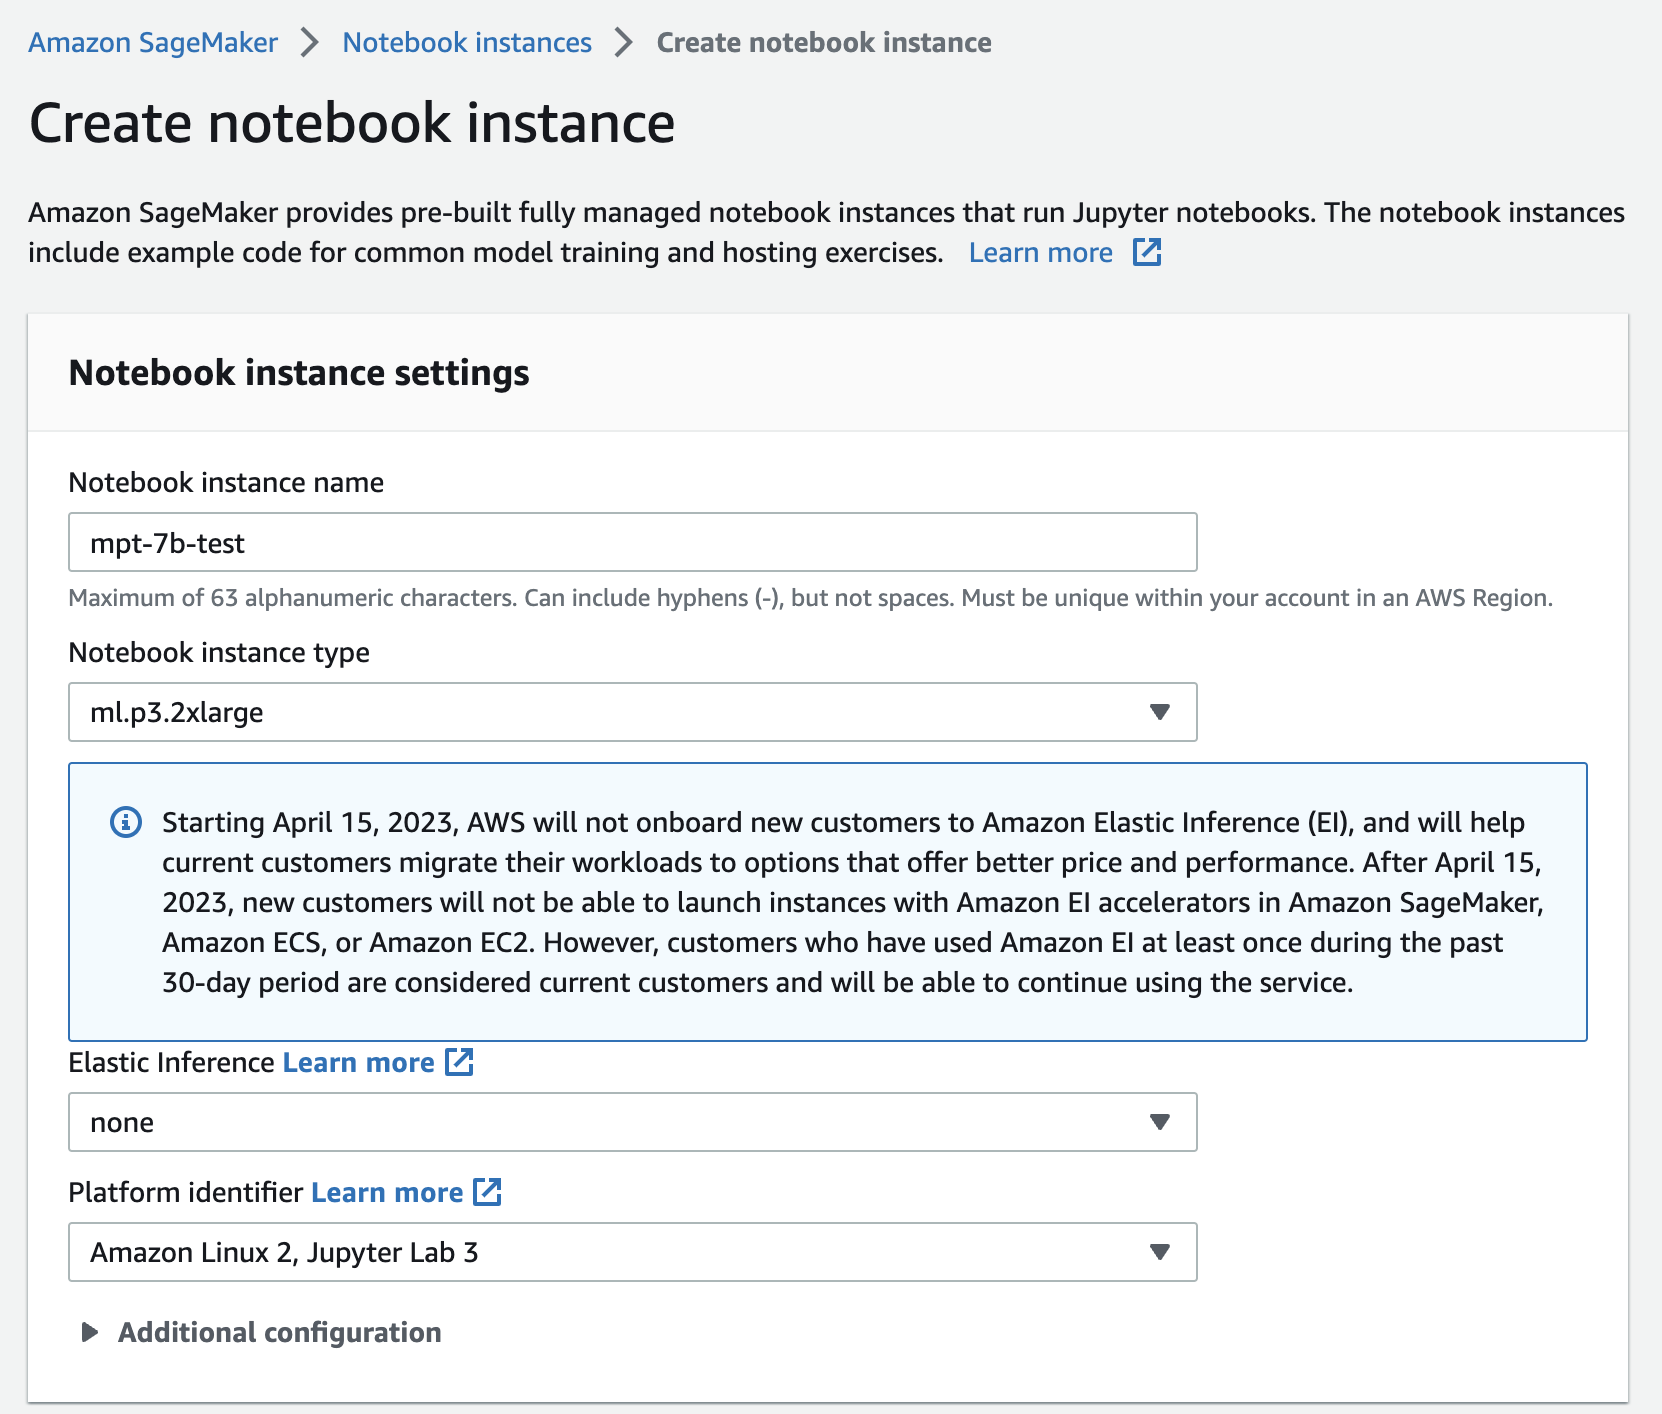
Specify notebook instance details. Image credit: Author
Create a new IAM role:
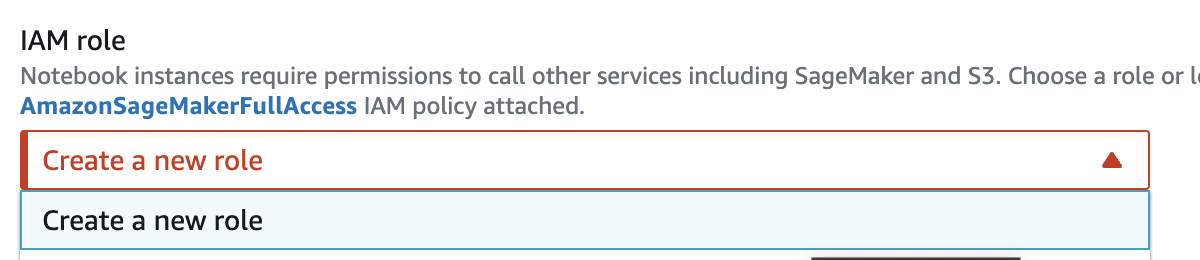
Create a new role. Image credit: Author
If your test environment doesn’t have any particularly sensitive data in it then you can grant access to Any S3 bucket. Otherwise, you’ll need to be more explicit.
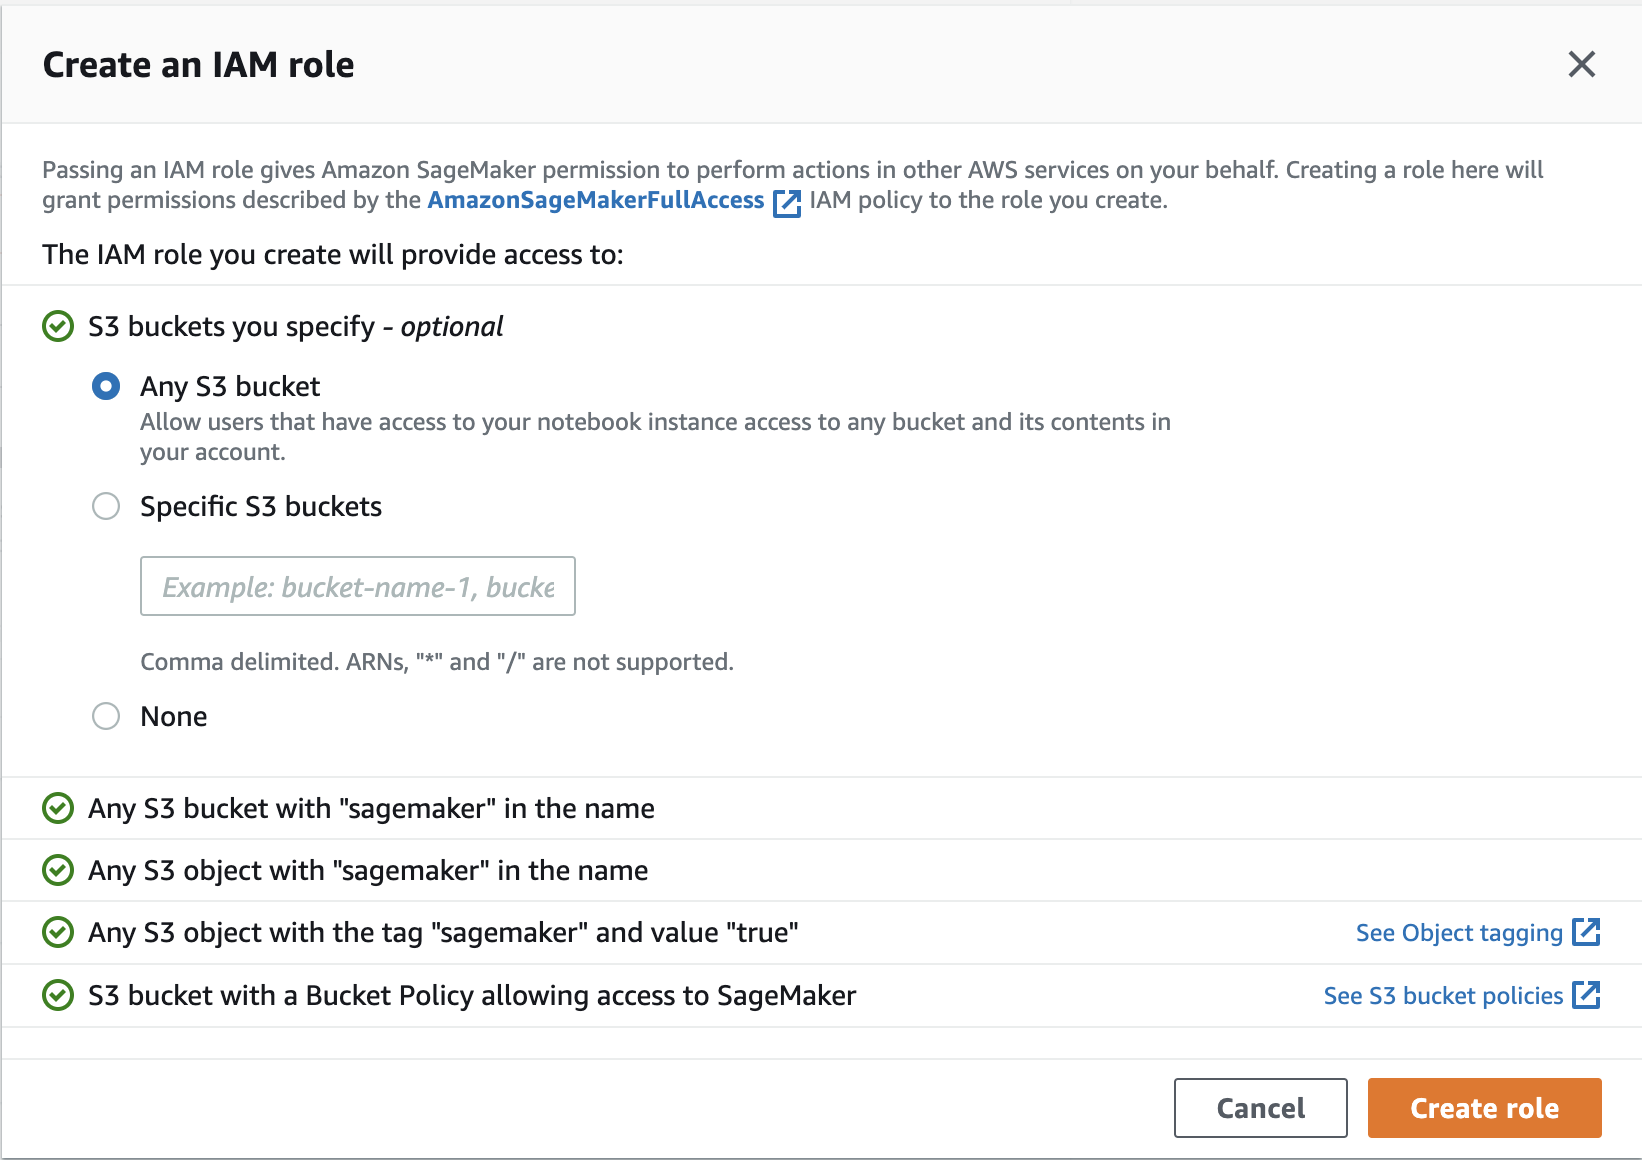
Specify S3 access. Image credit: Author
Click the Create notebook instance button:
Create notebook instance. Image credit: Author
The notebook will then be in a Pending status. This will likely last for about 10 minutes:

Pending notebook instance. Image credit: Author
In the meantime, we’ll download a notebook so that we can upload it after the AWS SageMaker instance has finished provisioning.
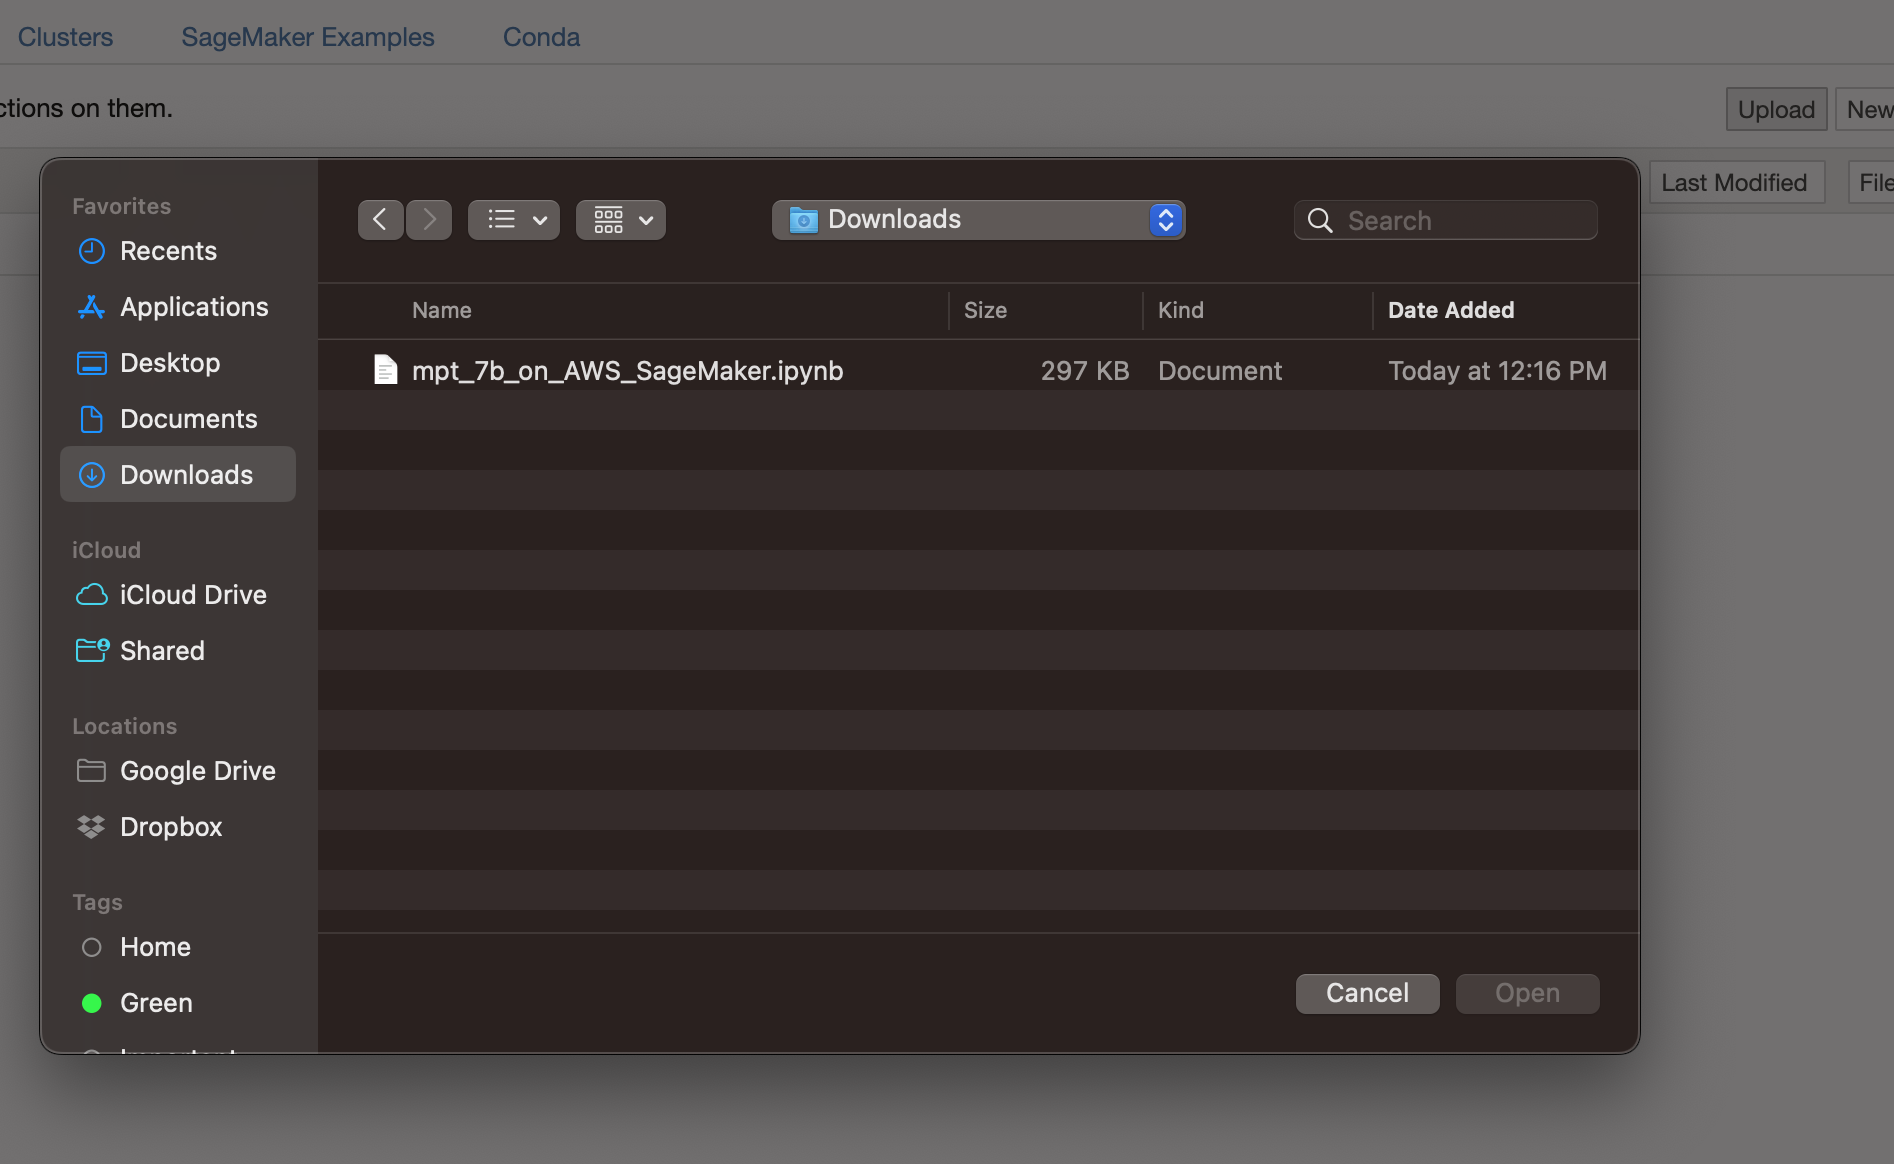
Step 3 - Download the notebook
Head on over to the notebook at MPT-7B on AWS SageMaker.ipynb and download it:
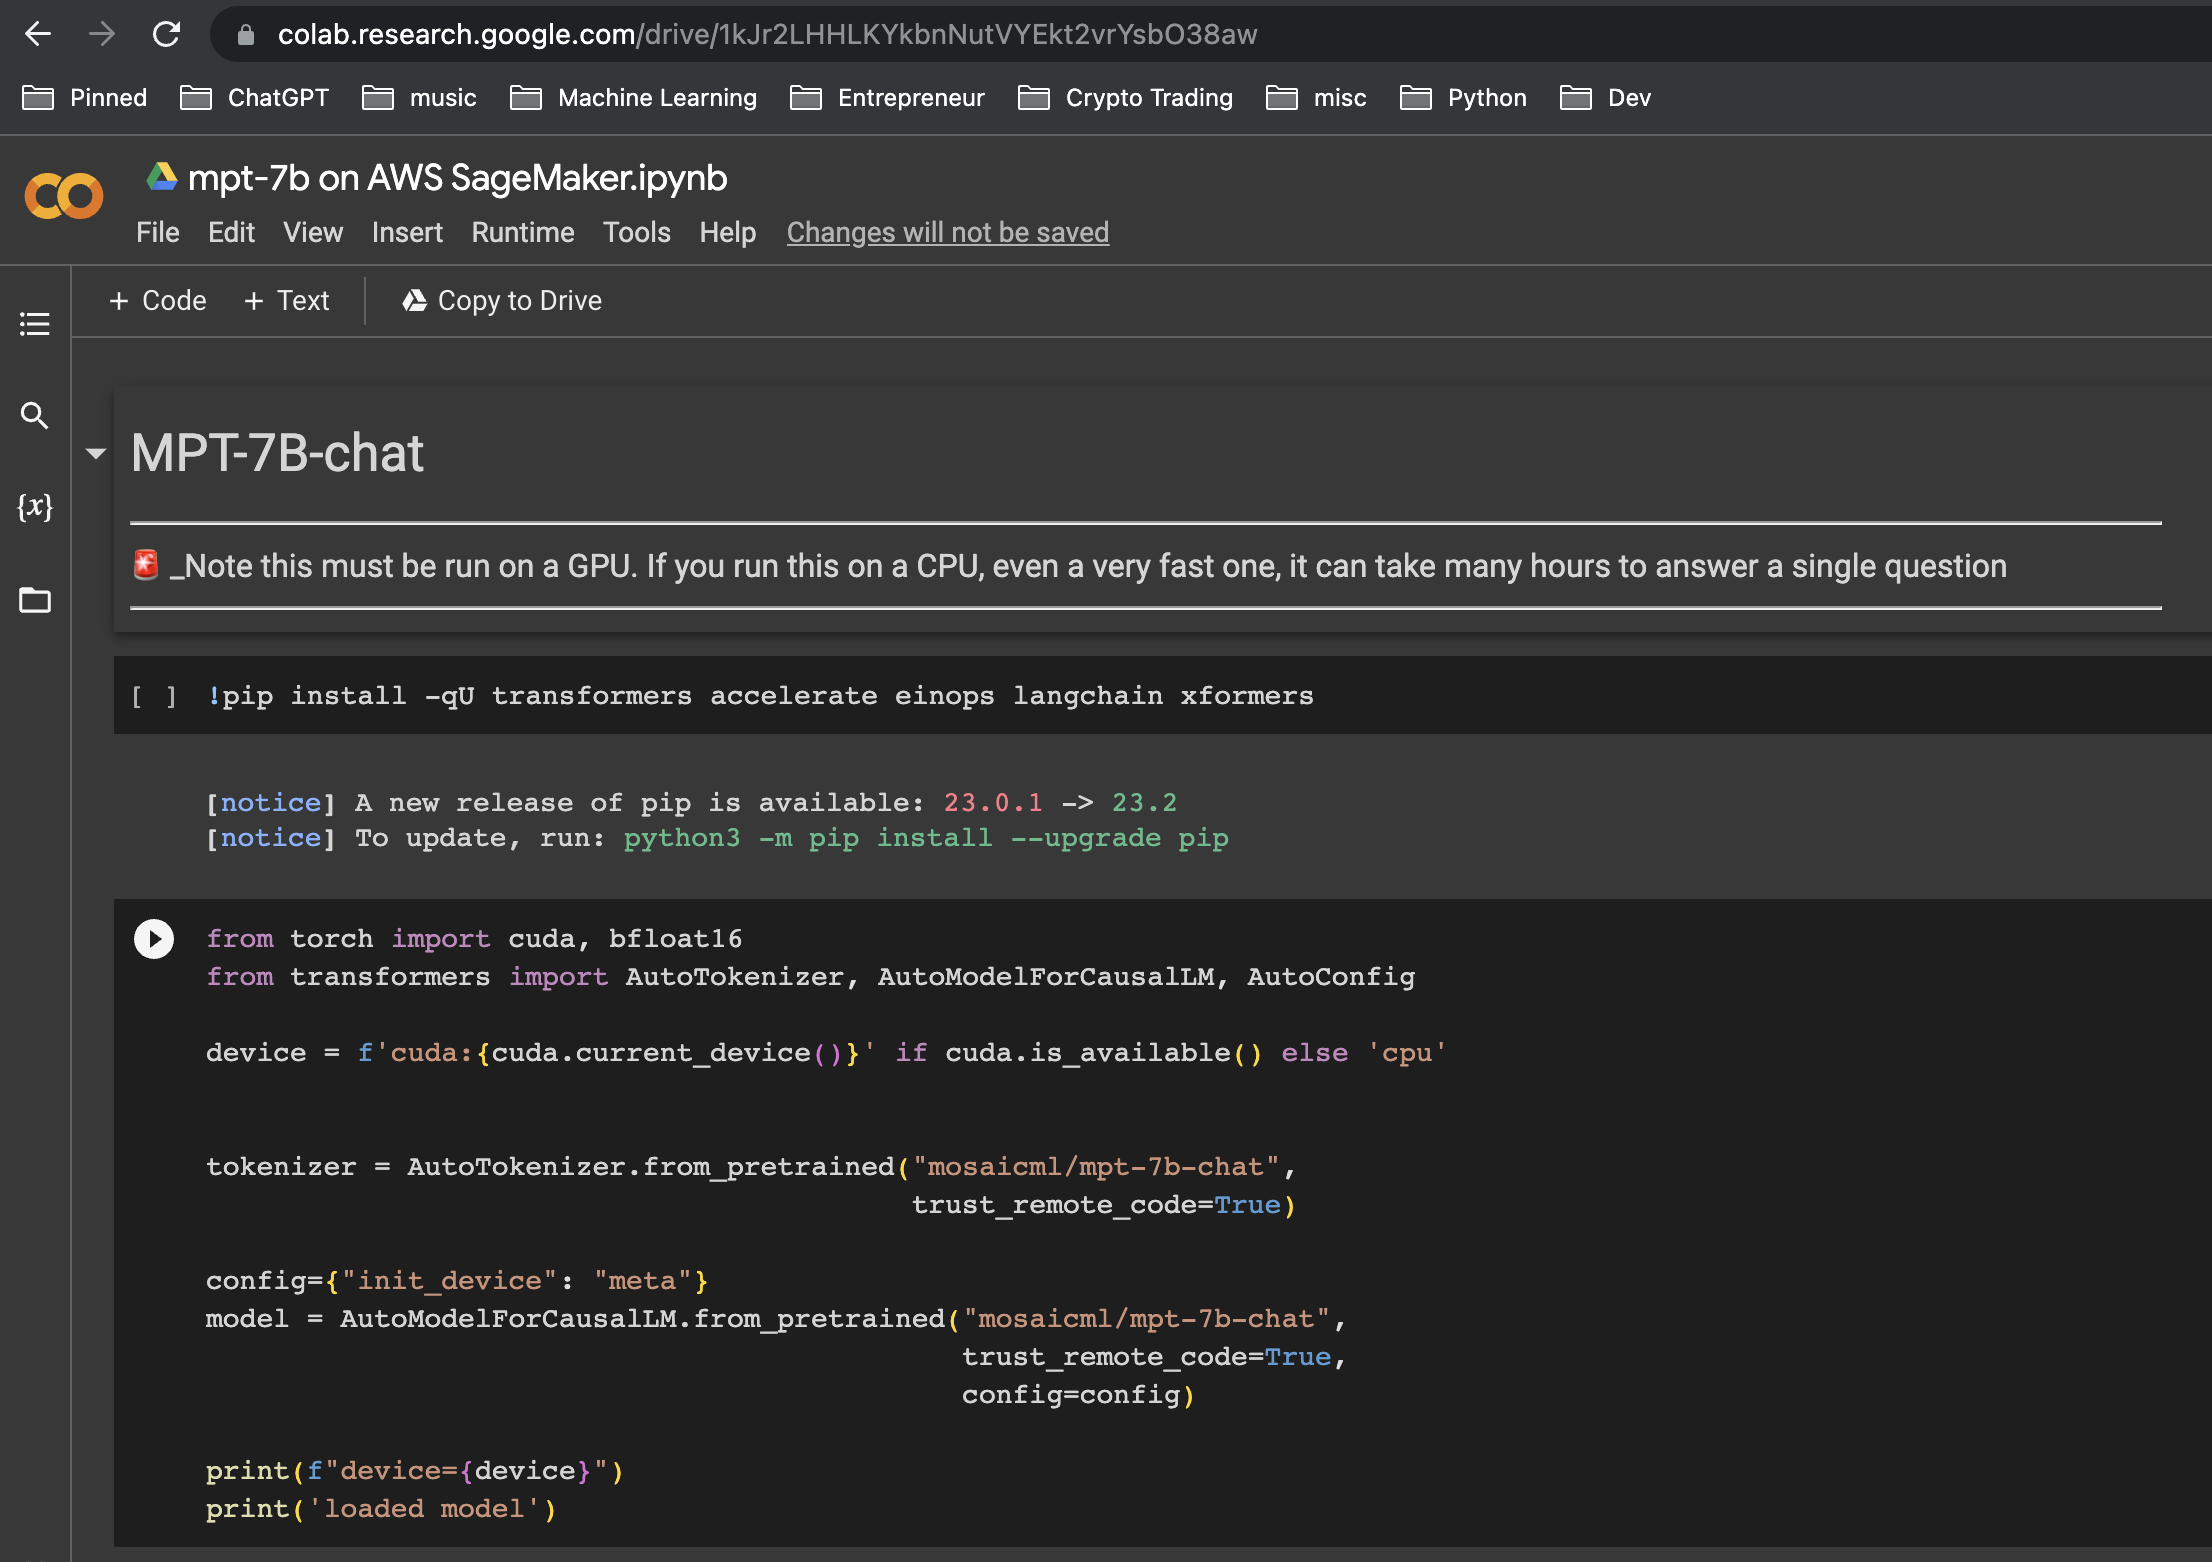
The notebook on Google Colab. Image credit: Author
Download the notebook. Image credit: Author
In this notebook you’ll notice two main code blocks. The first block loads the MPT-7B tokenizer and model:
from torch import cuda, bfloat16
from transformers import AutoTokenizer, AutoModelForCausalLM, AutoConfig

device = f'cuda:{cuda.current_device()}' if cuda.is_available() else 'cpu'

tokenizer = AutoTokenizer.from_pretrained("mosaicml/mpt-7b-chat",
                                          trust_remote_code=True)

config={"init_device": "meta"}
model = AutoModelForCausalLM.from_pretrained("mosaicml/mpt-7b-chat",
                                             trust_remote_code=True,
                                             config=config,
                                             torch_dtype=bfloat16)

print(f"device={device}")
print('model loaded')
The tokenizer is used to encode the question sent to the model and decode the response from the model. Additionally, we obtain the device specification for our GPU so that we can configure the model to utilize it later:
import time
from IPython.display import Markdown
import torch
from transformers import StoppingCriteria, StoppingCriteriaList

# mtp-7b is trained to add "<|endoftext|>" at the end of generations
stop_token_ids = [tokenizer.eos_token_id]

# Define custom stopping criteria object.
# Source: https://github.com/pinecone-io/examples/blob/master/generation/llm-field-guide/mpt-7b/mpt-7b-huggingface-langchain.ipynb
class StopOnTokens(StoppingCriteria):
def __call__(self, input_ids: torch.LongTensor,scores: torch.FloatTensor,
             **kwargs) -> bool:
  for stop_id in stop_token_ids:
    if input_ids[0][-1] == stop_id:
      return True
    return False

stopping_criteria = StoppingCriteriaList([StopOnTokens()])

def ask_question(question, max_length=100):
  start_time = time.time()

  # Encode the question
  input_ids = tokenizer.encode(question, return_tensors='pt')

  # Use the GPU
  input_ids = input_ids.to(device)

  # Generate a response
  output = model.generate(
    input_ids,
    max_new_tokens=max_length,
    temperature=0.9,
    stopping_criteria=stopping_criteria
  )

  # Decode the response
  response = tokenizer.decode(output[:, input_ids.shape[-1]:][0],
                              skip_special_tokens=True)

  end_time = time.time()
  duration = end_time - start_time

  display(Markdown(response))

  print("Function duration:", duration, "seconds")
Note the use of stopping_critera, which is needed or else the model will just start babbling on, even after it has answered our question.
See model generate parameters if you want to explore the different options.
Now, let’s upload this notebook to SageMaker.
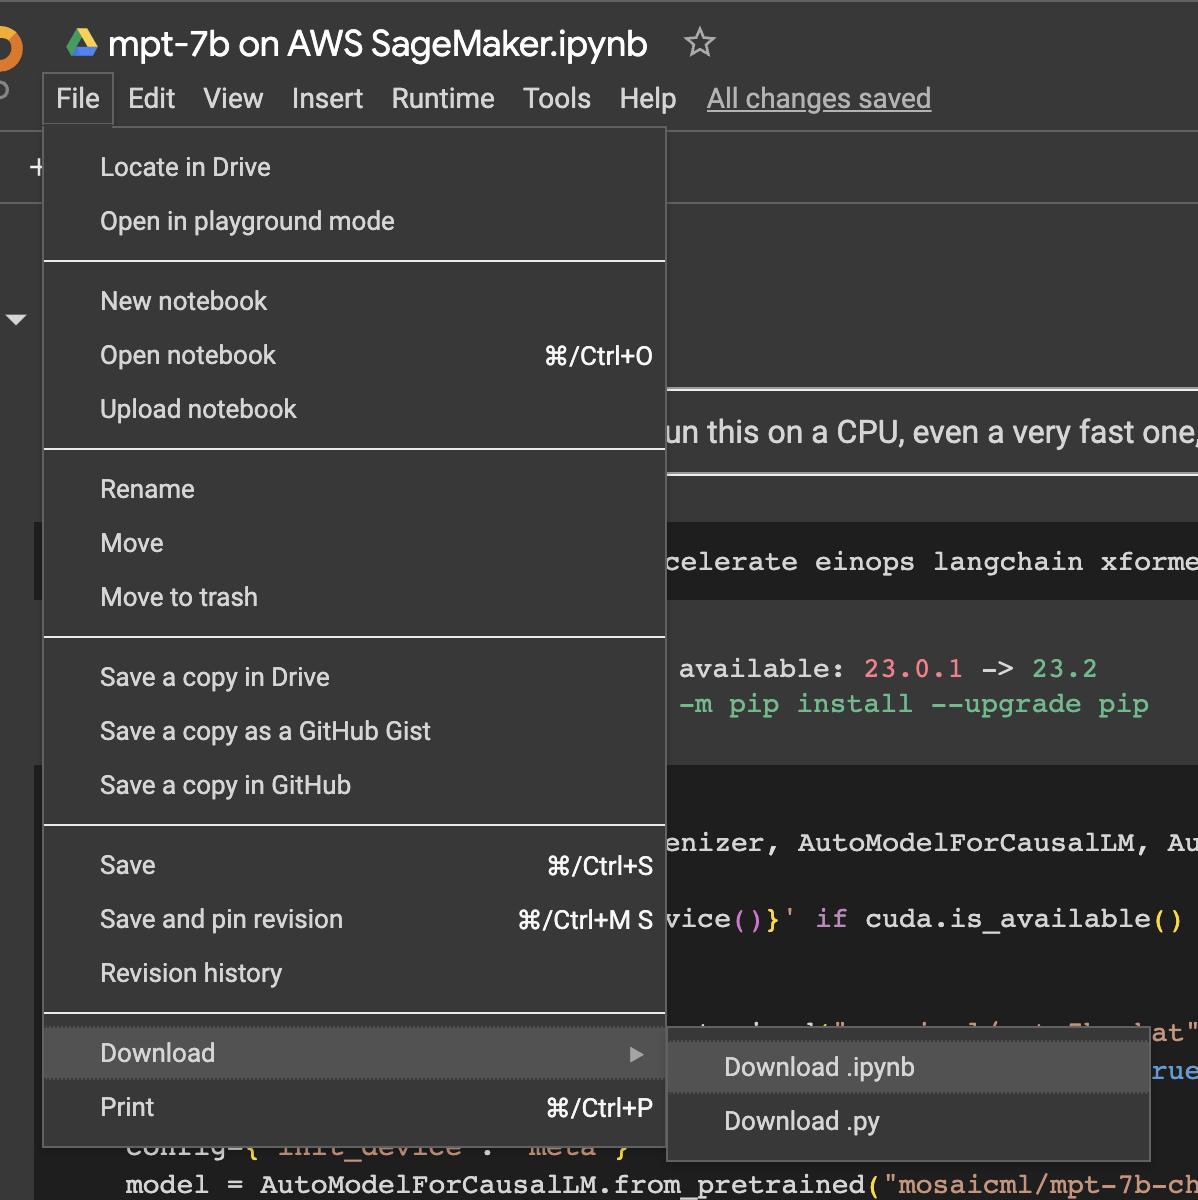
Step 4 - Upload the notebook
Hopefully by this time your SageMaker notebook instance has finished being provisioned. When it has, click the Open Jupyter link:
Open Jupyter. Image credit: Author
Then, click the Upload button in the top-right corner of your screen and select the notebook that you just downloaded:
Upload the notebook. Image credit: Author
Set the kernel to conda_python3:
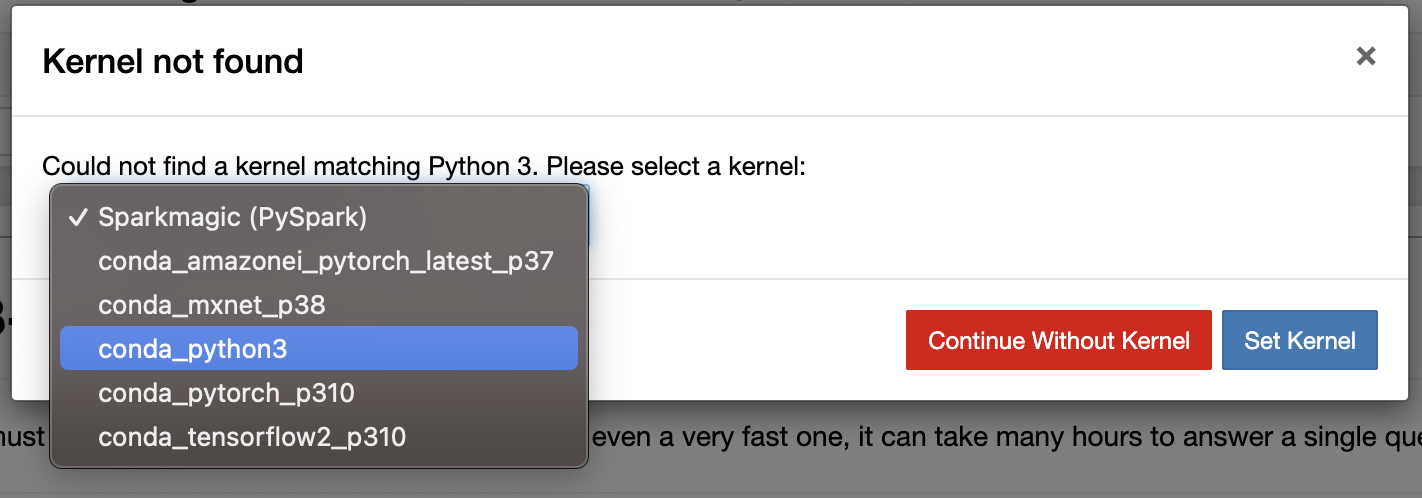
Set the kernel. Image credit: Author
Step 5 - Run the notebook
Select Cell -> Run All:
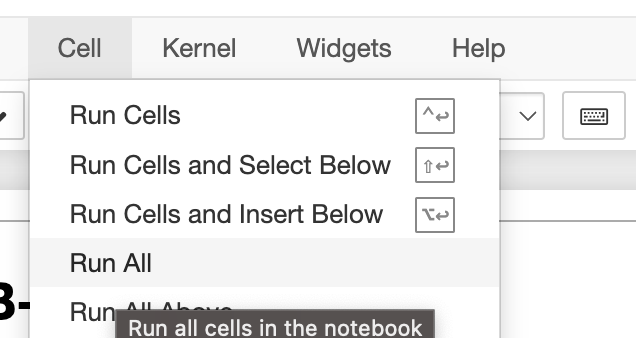
Run all cells. Image credit: Author
An hourglass logo will then appear in the browser tab:

Wait for notebook. Image credit: Author
You’ll then need to wait about 10 minutes for the model to be downloaded:
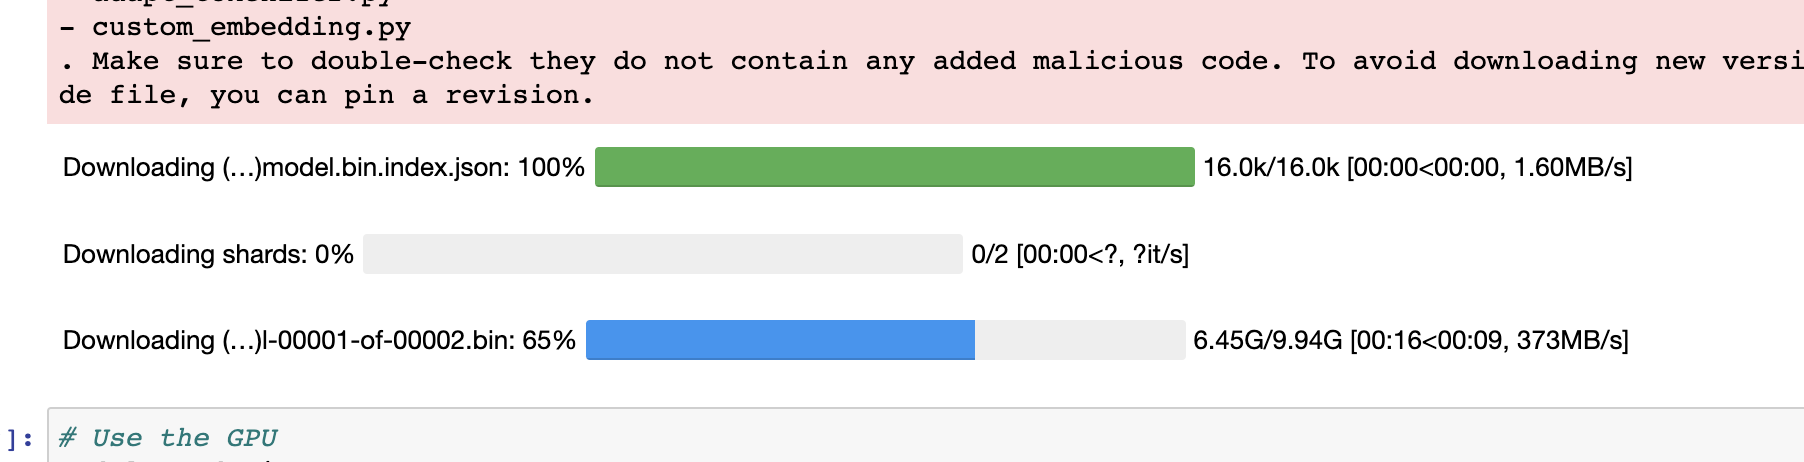
Download model. Image credit: Author
After it runs, you’ll see the answer to the question Explain to me the difference between nuclear fission and fusion:
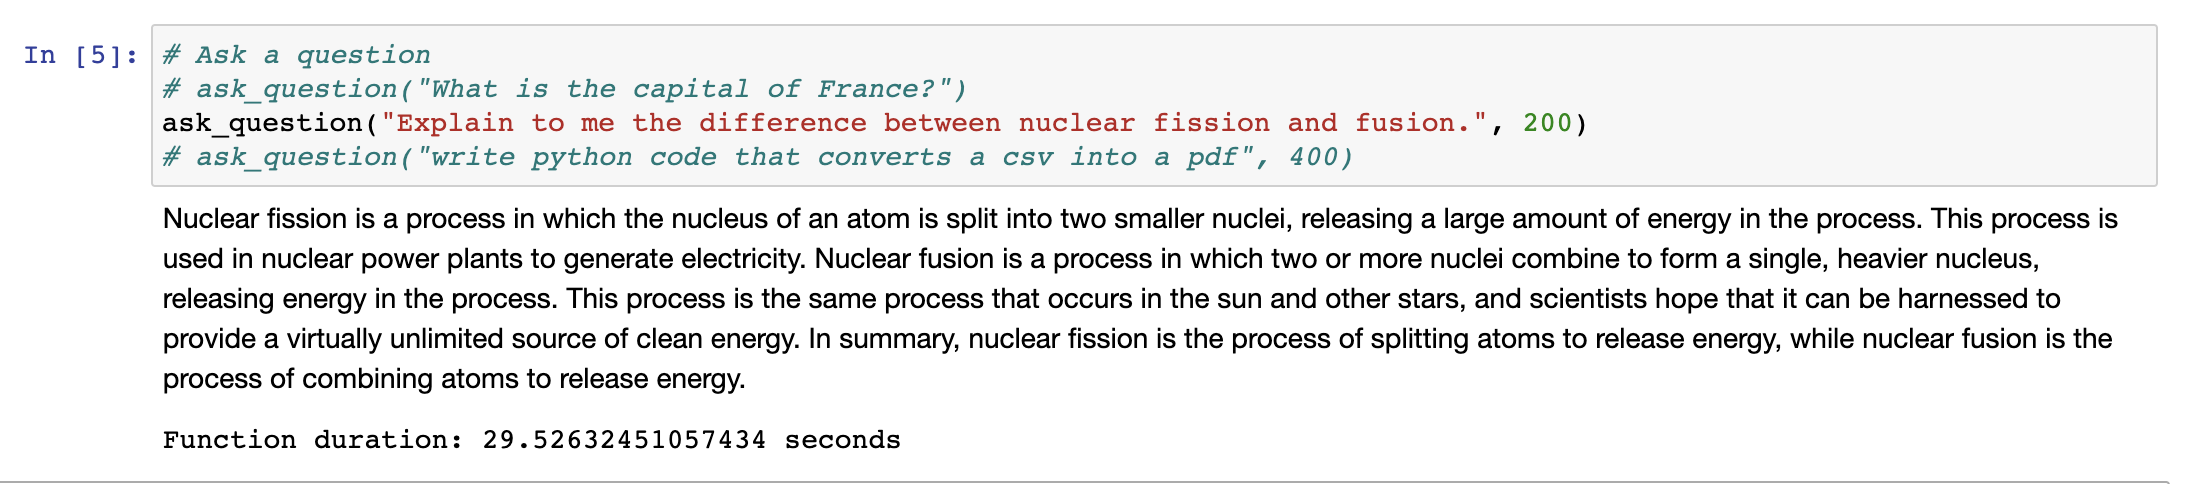
Explain to me the difference between nuclear fission and fusion. Image credit: Author
Since the model and tokenizer have already been loaded above, you can simply modify the ask_question code block and click the Run button to ask any other questions. This will save you from spending 10 minutes each time you want to test a new question.
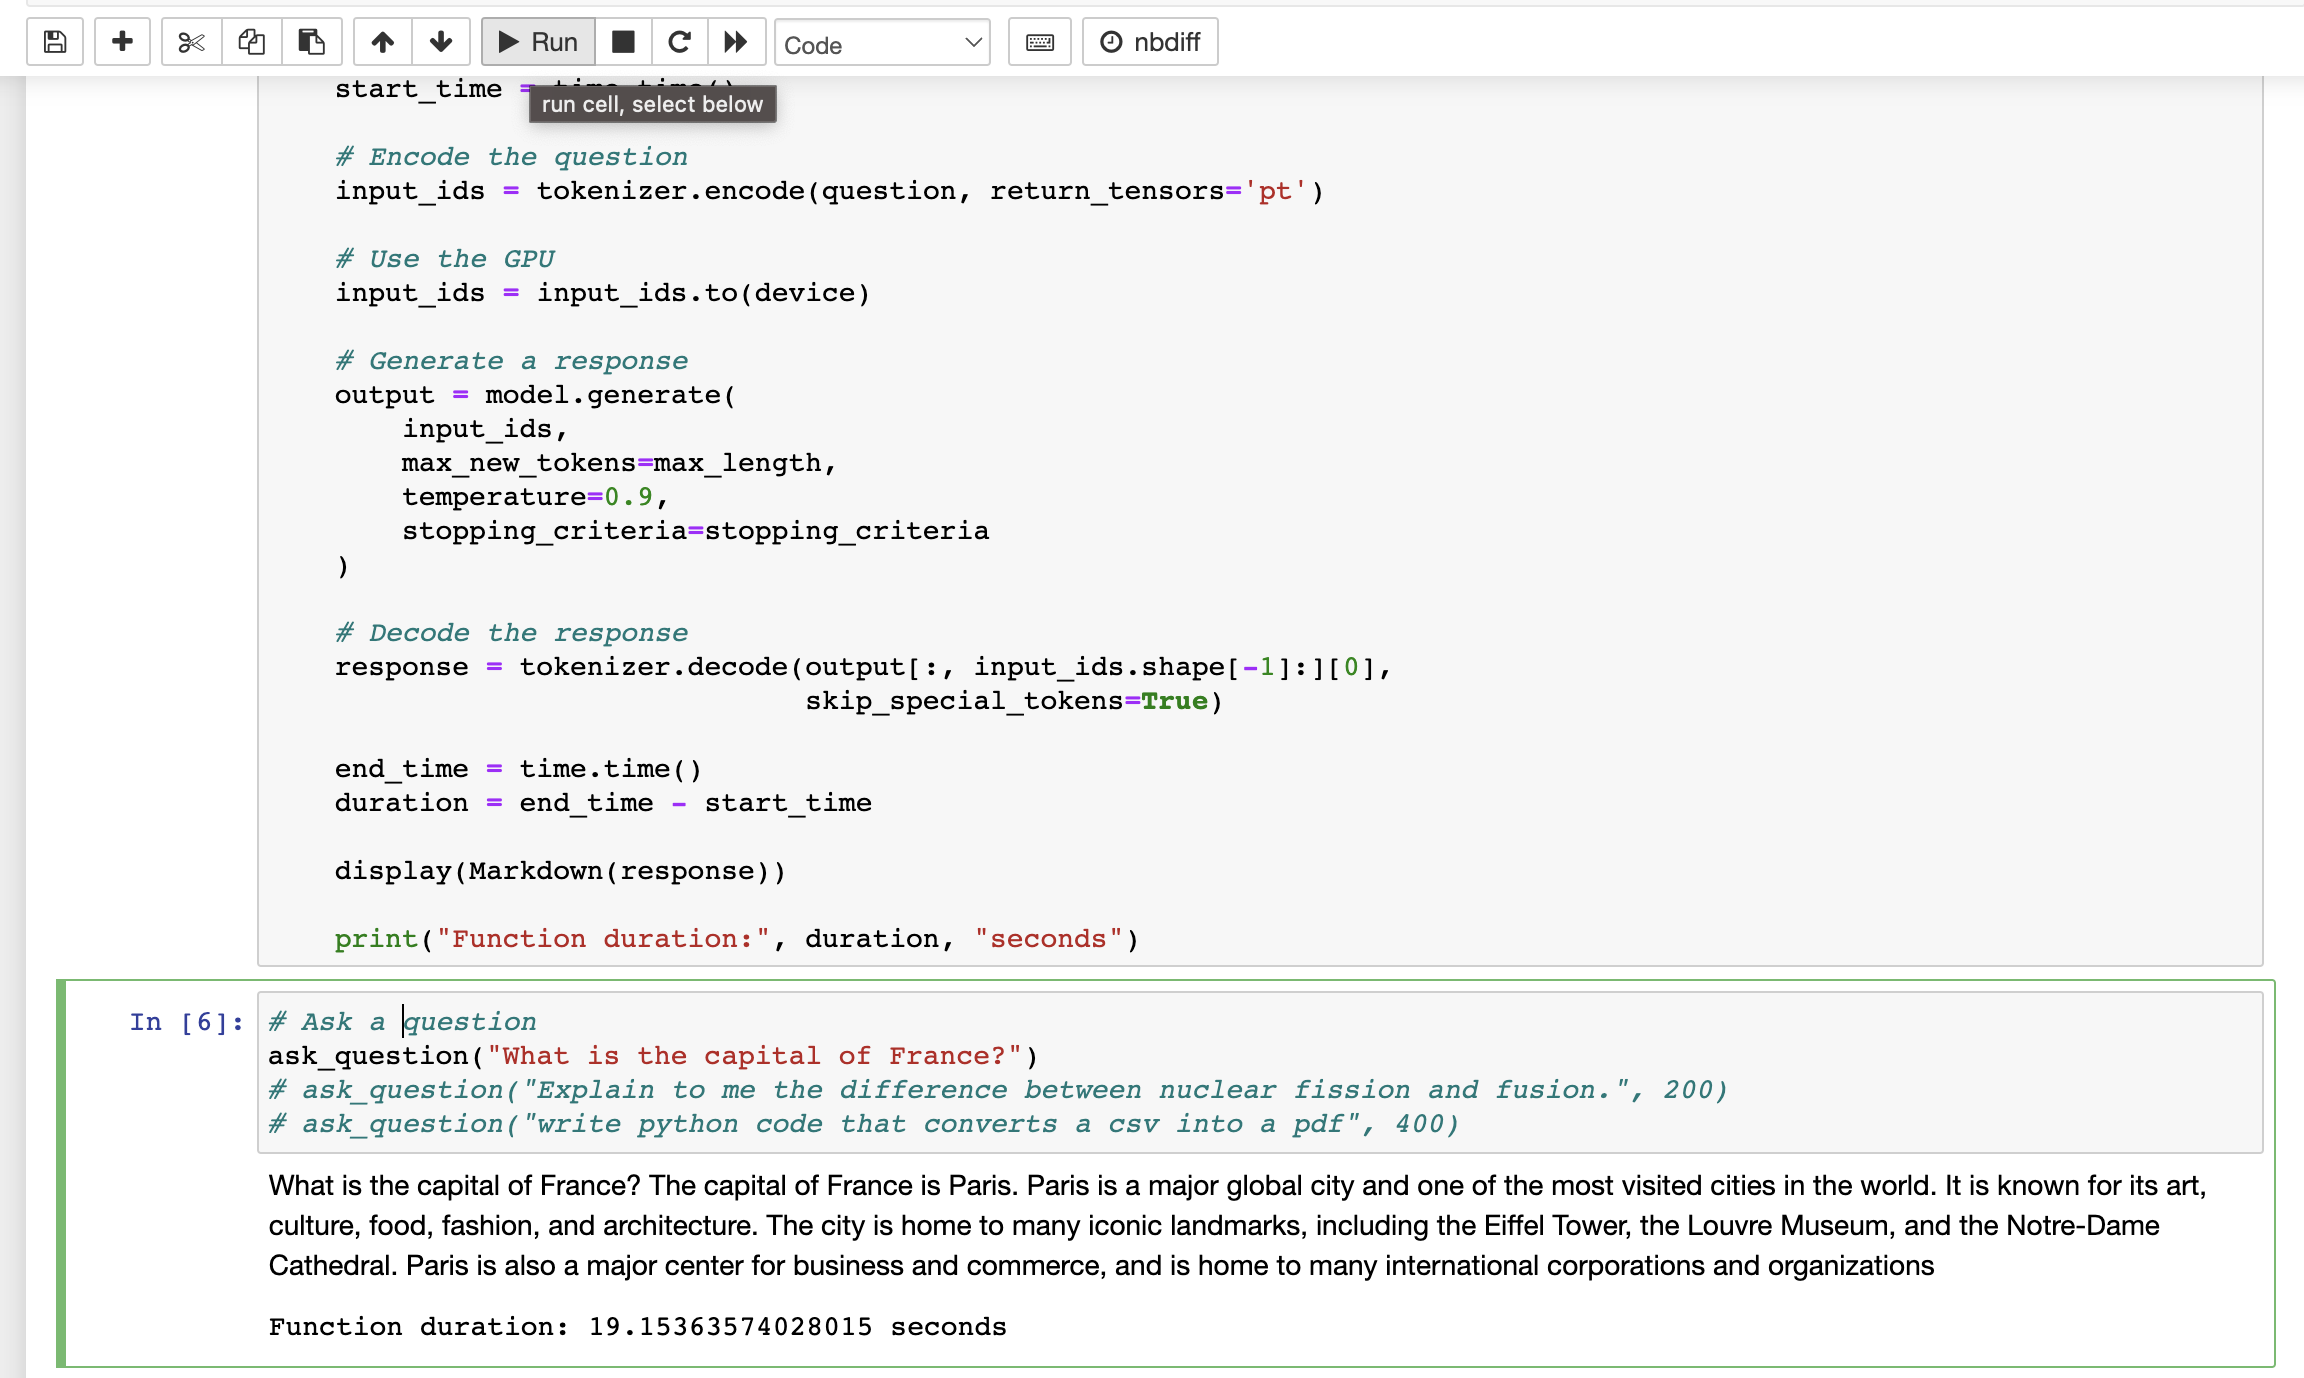
What is the capital of France?. Image credit: Author
Step 6 - Stop the notebook
As soon as you have finished testing the model, you’ll want to head back to your list of notebook instances and stop it. If you don’t, $4/hr will add up very quickly 💸
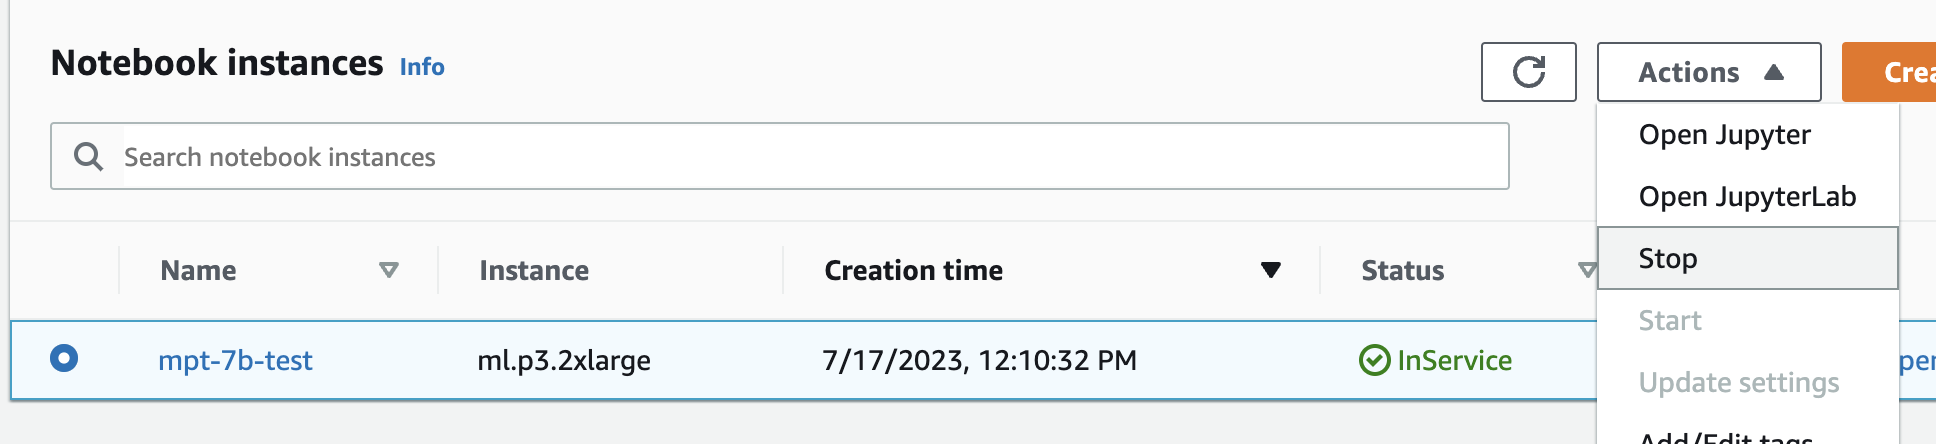
Stop the notebook. Image credit: Author
Performance Comparison
In terms of performance, my preliminary tests suggest that MPT-7B’s results might not be as good as ChatGPT’s. It does a decent job answering questions like What is the capital of France?, Explain to me the difference between nuclear fission and fusion, and Write python code that converts a csv into pdf. But for questions like_What is the capital of Belize?_ it fails pretty horribly:

What is the capital of Belize? Image credit: Author
I am currently collecting more data and will conduct a comprehensive comparative analysis in a follow-up blog post. In that post, I will compare the question and answer performance of MPT-7B, MPT-30B, Falcon-40b, and ChatGPT using actual conversation history.
From Testing to Production
Once you’re ready to transition from testing to production, SageMaker offers an additional benefit - the ability to create an endpoint for your model. With SageMaker, you can auto-scale based on demand to the endpoint, optimizing your resources.
Additional Tips
Be mindful that it’s easy for your process to get forked while running in a Jupyter notebook and run out of memory. If this happens, simply shut down the kernel and run all the commands again.
If you’re curious about running this model on a platform other than AWS, Google Colab Pro is another viable option at $9/month. However, based on our testing, we found that we exhausted the provided credits within just a few hours. 😳
Another challenge you may face is the inability to utilize the Triton optimization on SageMaker due to a CUDA version incompatibility. Unfortunately, AWS’s current P3 instances do not include a recent CUDA version. Therefore, if you wish to utilize the Triton optimization, you will need to create an EC2 container with command line access. However, it’s important to note that you will also require special permission from AWS Support to run an instance with 8 VCPUs. In a future post, I will provide a detailed guide on how to integrate Triton and utilize a more cost-effective GPU cloud provider, such as Lambda Labs.
Final Thoughts
While MosaicML’s MPT-7B offers a viable alternative to OpenAI’s ChatGPT, it presents its own set of challenges. Running the model can be time-consuming, expensive, and the available documentation is lacking. However, the ability to keep the model in-house and protect your data from being exposed to OpenAI can be compelling for certain use cases.
SageMaker offers great convenience for quickly testing the model and provides the flexibility to transition to production when you’re ready. Whether you’re just starting with MPT-7B or have been using it for a while, we hope this guide has provided valuable insights.
Stay tuned for our next blog post, where we’ll delve deeper into the performance comparisons between MPT-7B, MPT-30B, Falcon-40b, and ChatGPT.
See the following links if you are interested in learning more about MPT-7B or its larger variant, MPT-30B.
And remember, whether you’re working with ChatGPT or MPT-7B, the key is to ensure your use case is served without compromising data privacy and cost-effectiveness. Happy tinkering!
Want a Turn-Key Solution for Using MPT or ChatGPT with Your Data?
At MindfulDataAI.com, we offer ChatGPT for businesses. If you’re interested in leveraging ChatGPT, MPT, or other models with your company’s data, please get in touch with us.